Understanding Turnboard
Turnboard Action Buttons
Active and Completed Switch
You can switch between active and completed turnovers through switch at the top.

Search, Filter and Sort
You can filter the units by searching them through names or applying other filters. You can also sort the results by clicking the Sort button.

Community Selection
Use the community selection input to switch between different communities that a manager has access to. Each community has its own sets of configuration.

For example, some communities might not have "Carpet Cleaning" in their services flow. Likewise, in some properties "Painting" might come before "Carpet Cleaning" whereas, it might not be the case for other communities.
Tip: See communities config screen for setting up this configuration.
Add Turnover Button
Click the "Add Turnover" button to start adding a turnover on the board.

Turnboard Table
A turnboard looks as follows.
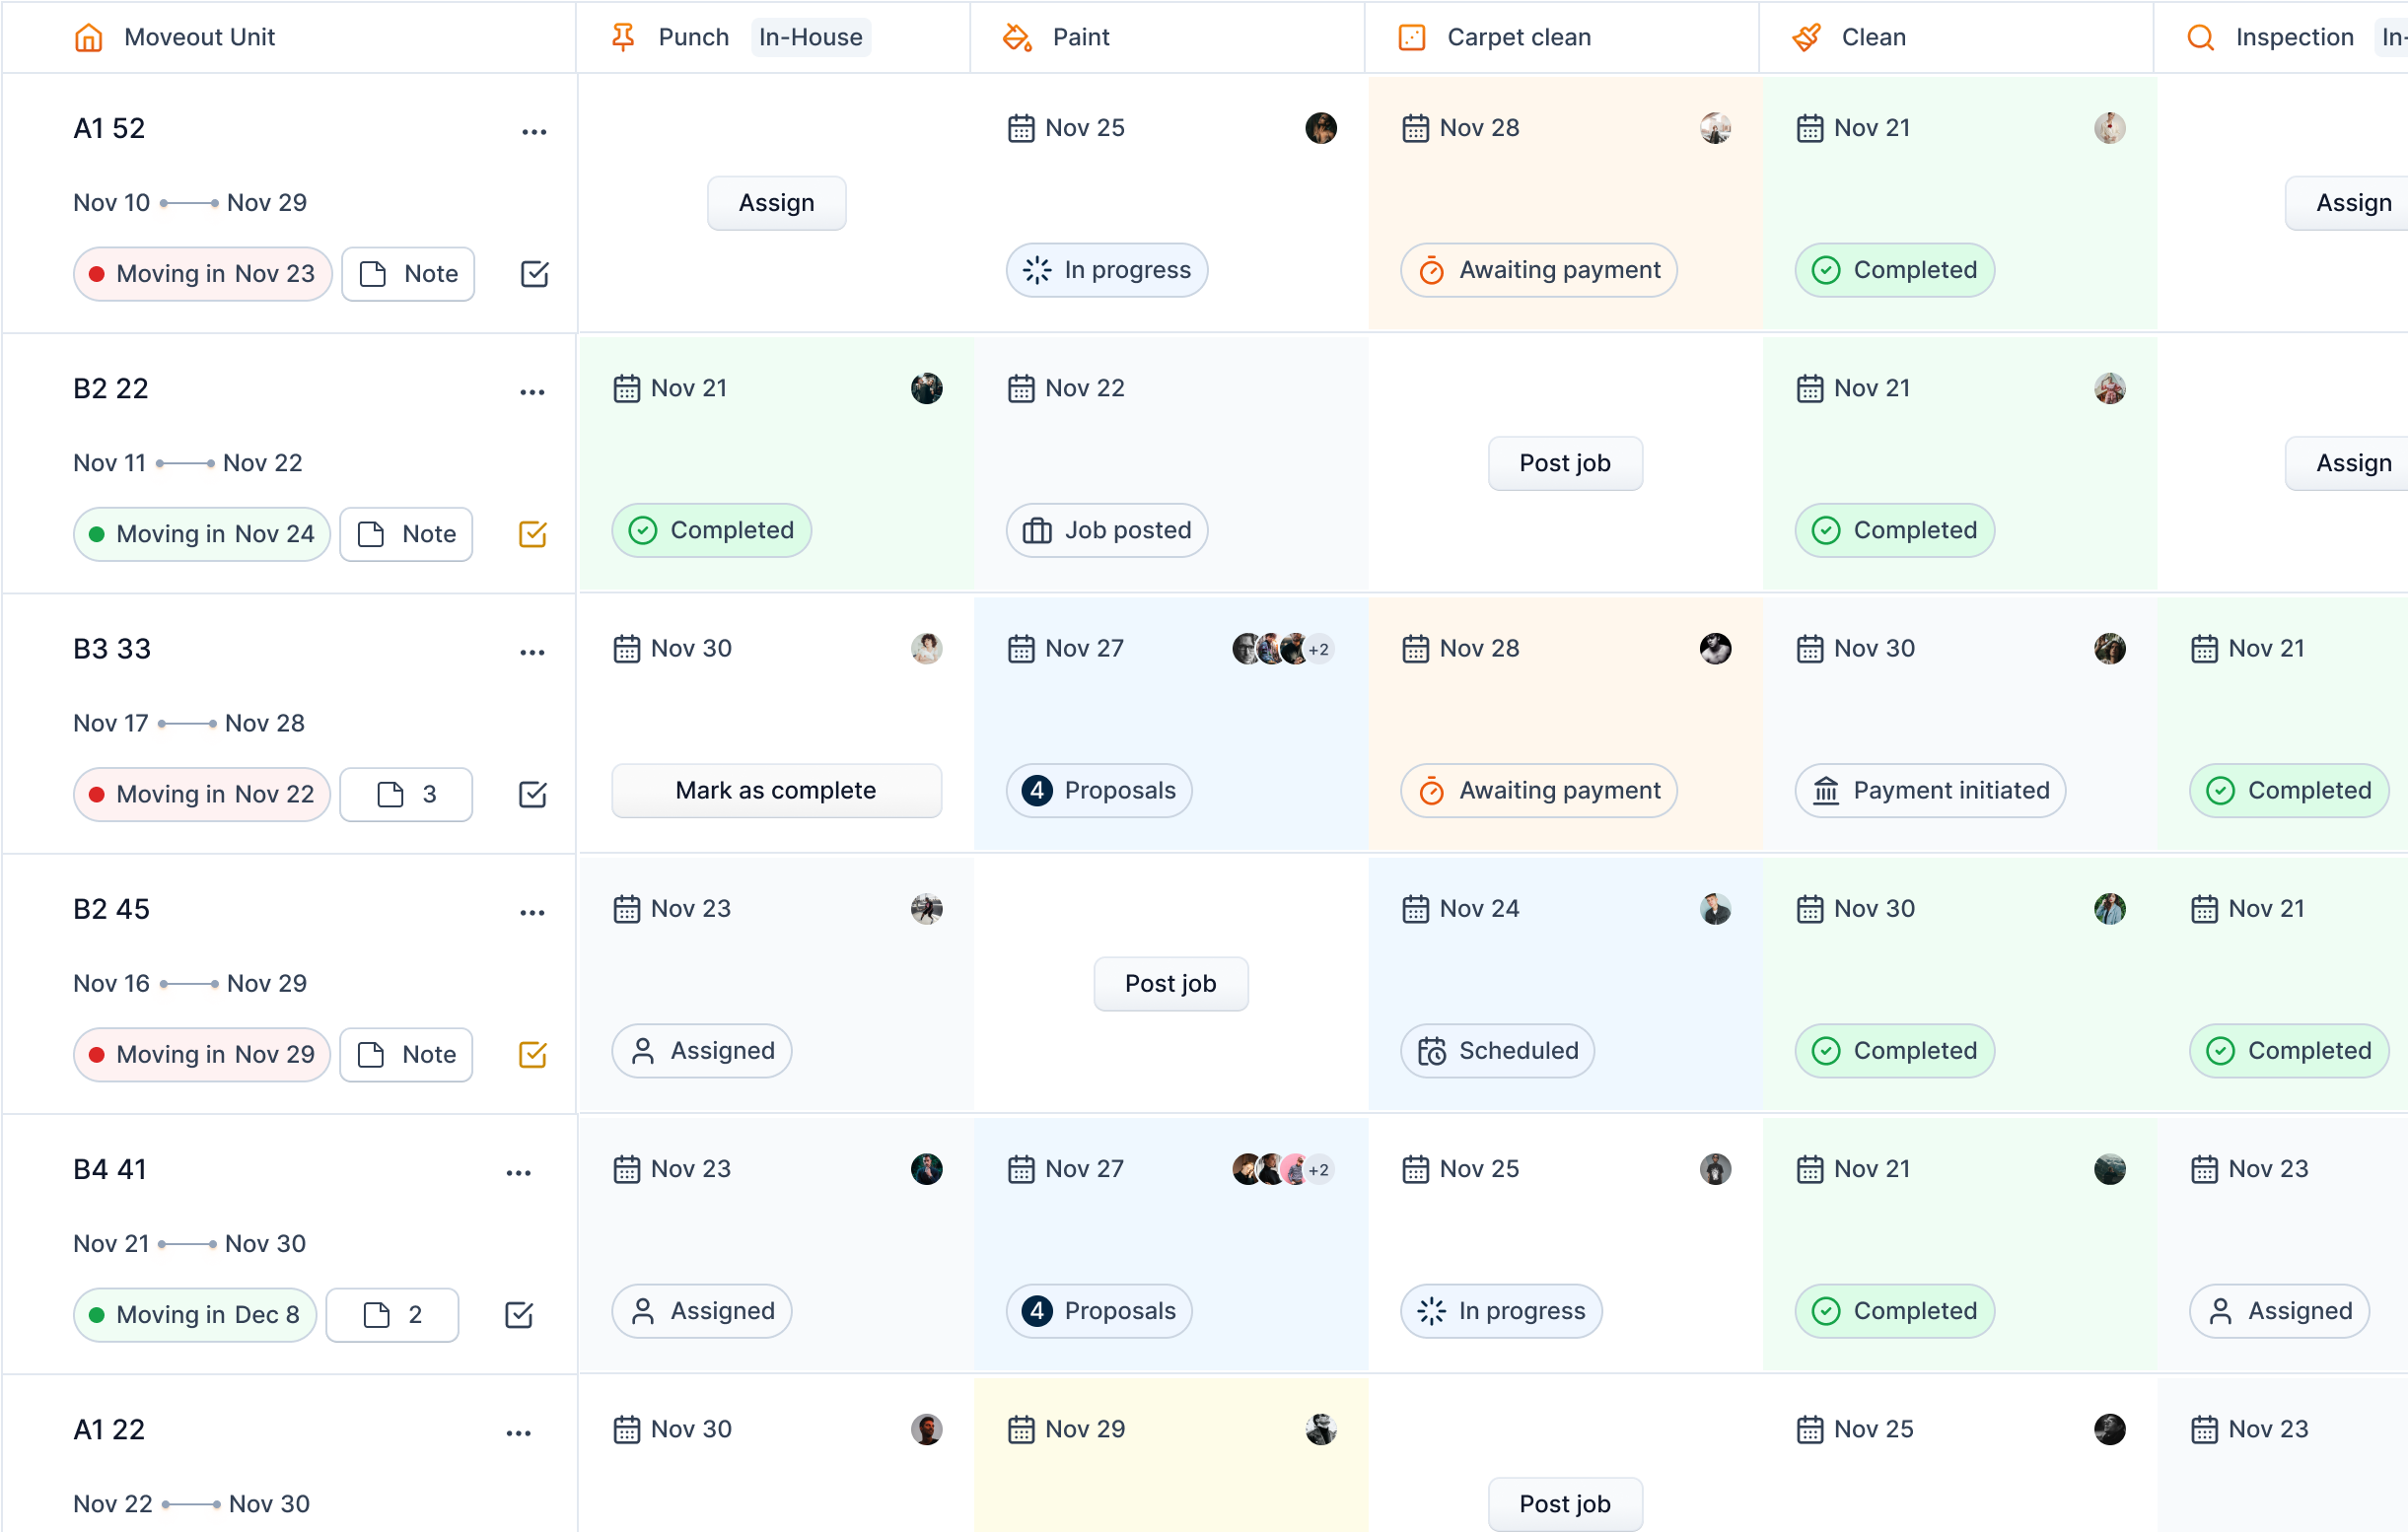
Moveout Unit
The first column of the turnboard refers to the turnover information.
The dates joined by a horizontal line refer to the start and end dates of the turnover.

Below it, there is a chip to indicate the status of move in date. The styles of the chip refers to different level of urgency.
| Move in chip style | Reason | Example |
|---|---|---|
| Green dot with light green background | The move in date is in the future |  |
| Orange dot with yellow background | The move in date is within 3 days | TODO: Add appropriate example |
| Red dot with light red background | The move in is due. This turnover probably is already completed and should be marked as complete in the turnboard. | 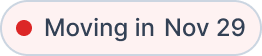 |
You can access notes dialog using "Note" icon. There will be a text "Note" if there isn't any note added to the turnover yet. 
If there is any note added, it will be indicated in the icon. 
On the top right of the cell, we get an ellipses icon, through with we can perform other actions such as editing, deleting and viewing the timeline of the turnover.
![]()
Status of Turnover
This chip in the bottom left of each cell denotes the latest status of the turnover.
| Status | Text | Type | Style |
|---|---|---|---|
| Assigned | Service assigned | In-house |  |
| Job Posted | Service is posted and no proposals yet | Vendor |  |
| Proposals | There are proposals for the service | Vendor |  |
| Scheduled | The vendor is hired, but the task is scheduled to start in future | Vendor |  |
| In Progress | Service is in progress | Vendor |  |
| Awaiting Payment | Vendor is requesting payment | Vendor |  |
| Payment Initiated | Payment has already been initiated | Vendor |  |
| Completed | Job is paid and is completed forever | Vendor |  |
| Completed | The service is completed by the assigned manager | In-house | |
Dynamic Information
The top row of each service contains dynamic information, dates and person.

The date and people avatar change according to the status of turnover as follows.
| Status | Date Information | Avatar Information |
|---|---|---|
| Punch assigned | Expected punch date as assigned | Assigned manager |
| Punch completed | Punch completed date | Manager who completed the punch |
| Inspection assigned | Expected inspection date as assigned | Assigned manager |
| Inspection completed | Inspection completed date | Manager who completed the inspection |
| Job posted | Date to complete the service | None |
| Proposals | Date to complete the service | Vendors who have sent bids |
| Scheduled | Date to complete the service | Hired vendor |
| In progress | Date to complete the service | Hired vendor |
| Awaiting payment | Date when payment requested | Hired vendor |
| Payment initiated | Date when payment initiated | Hired vendor |
| Job completed | Date when job is completed | Hired vendor |