Post Vendor Jobs
Info
Not available to all users
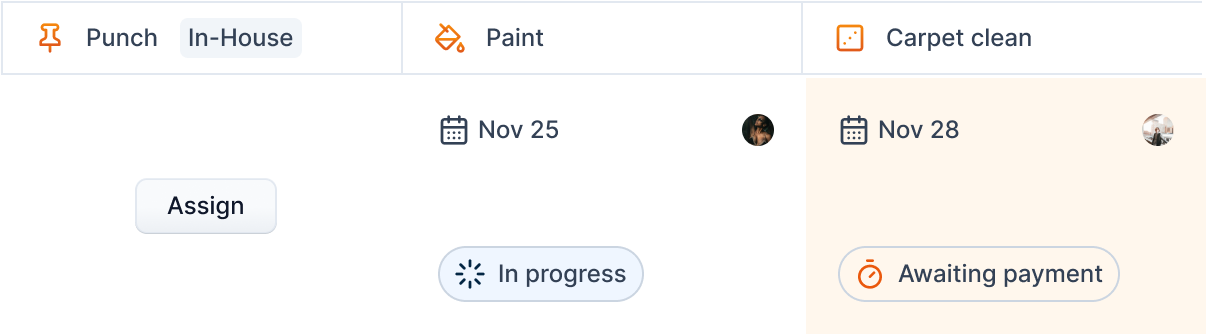
The in-house services are marked as "In-house" whereas external vendor services aren't.
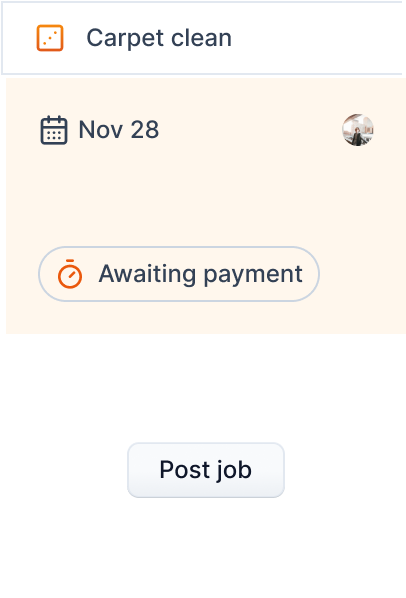
Click the "Post job" button to post a job.
You will be greeted with a multi-step form where you can fill in the job information.
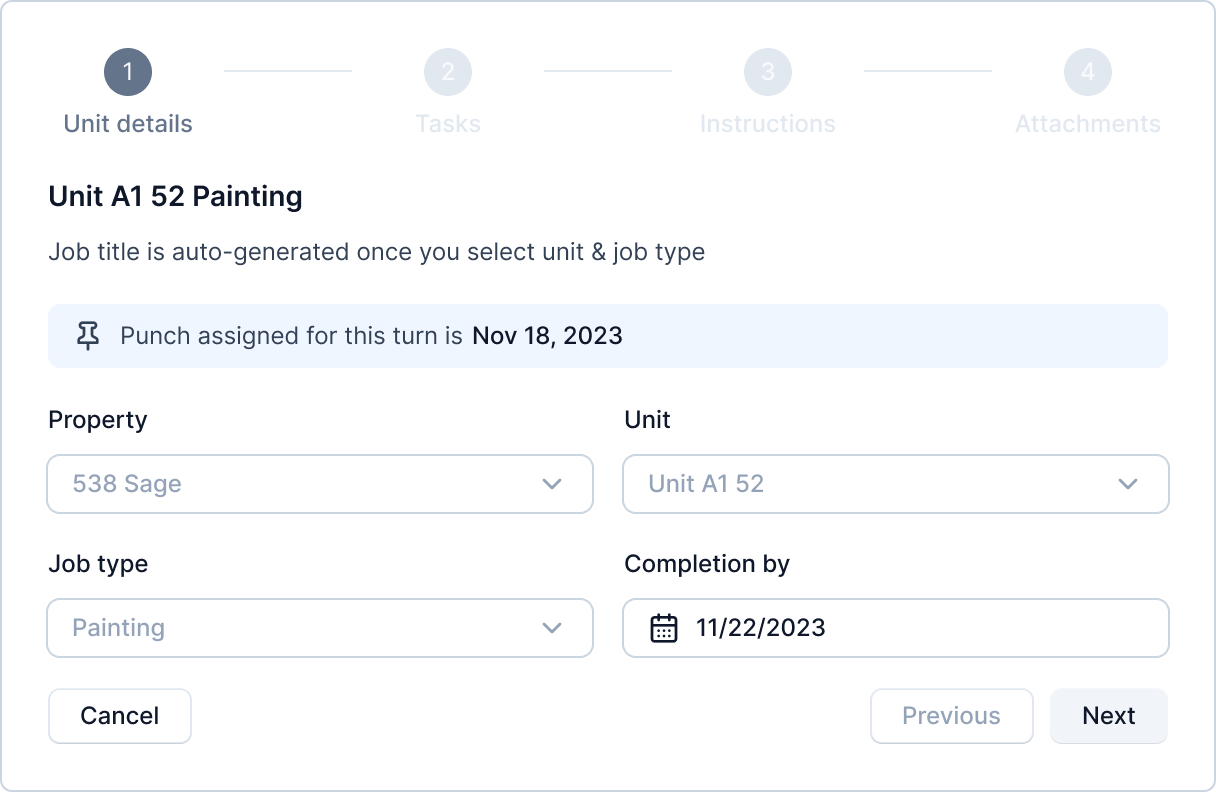
Step 1 - Add unit information
In the first step, you will get a form to select property, unit, job type and completion date. In the turnover post job form, property, unit and job type fields are disabled.
If a punch is assigned, the information is also presented in this step.
Step 2 - Add tasks
In this step, you add tasks for the job. This is a simple to-do list. For example, for cleaning, it might look as:
- Clean table top
- Clean kitchen sink
- and so on...
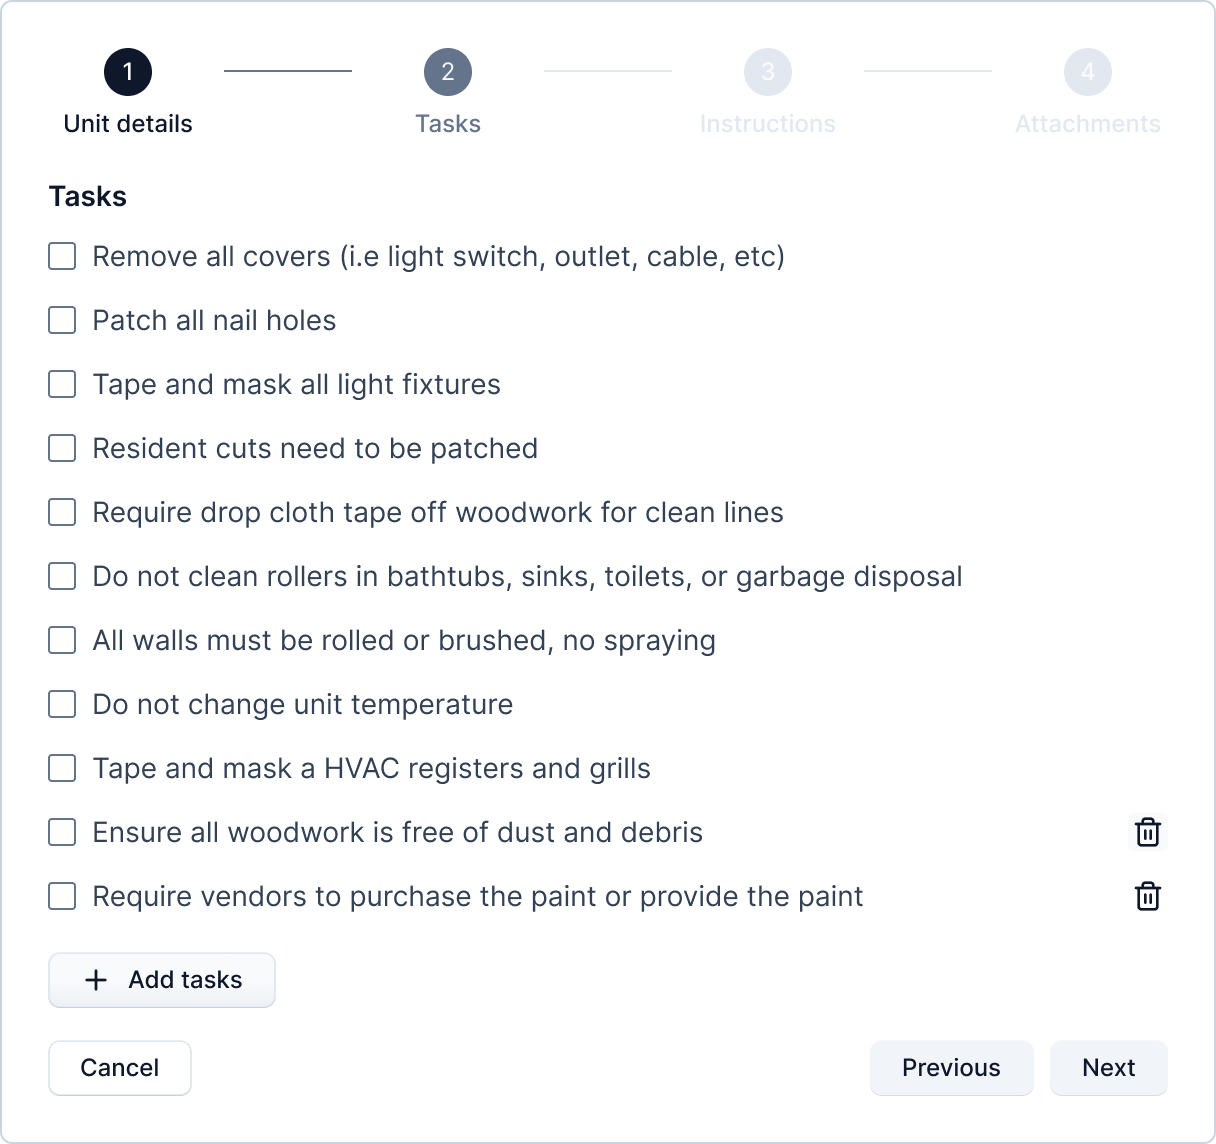
The tasks will be autopopulated from the community settings.
Tip: TODO: See community tasks settings for setting default tasks for the community.
You can also add or remove tasks for each jobs. This won't affect the default tasks set in community tasks settings.
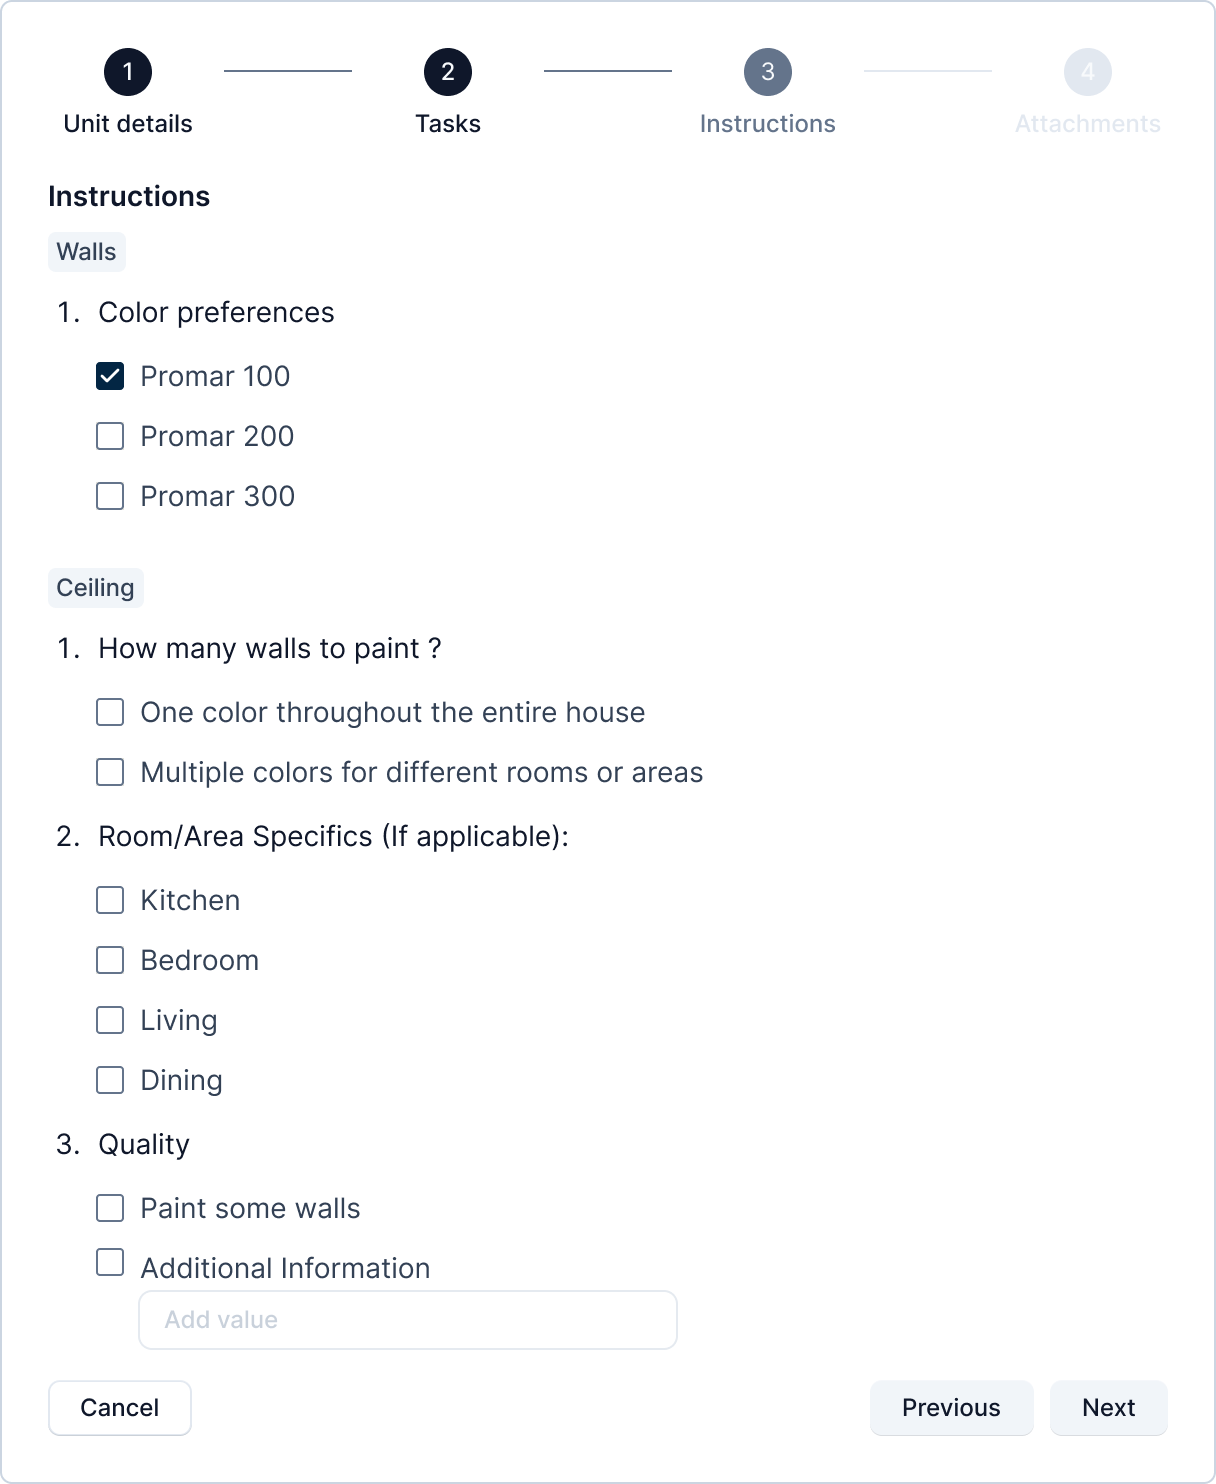
Step 3 - Add Instructions
Instructions are similar to tasks in that they can also be set through community settings for each community.
The concept of instructions is similar to that of a form. Here, a manager can set a form structure through community settings where, they define various sections, questions, options, and type of answers for the questions. When a job is posted on the community, the form is populated to the manager posting it. The filled form is then displayed to the vendors while viewing the job details. The instruction form looks as follows.
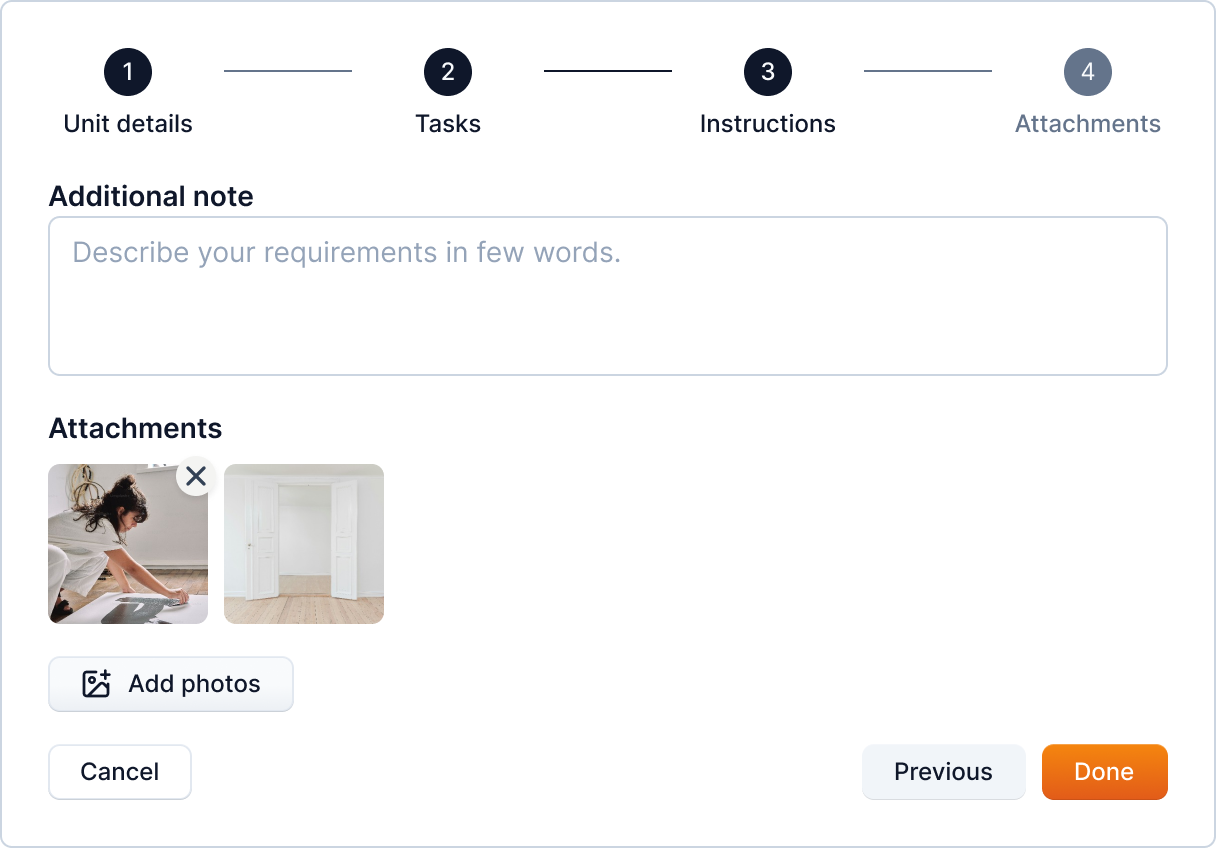
Step 4 - Add attachments
Finally, you can add any additional information and supporting attachments to the job.
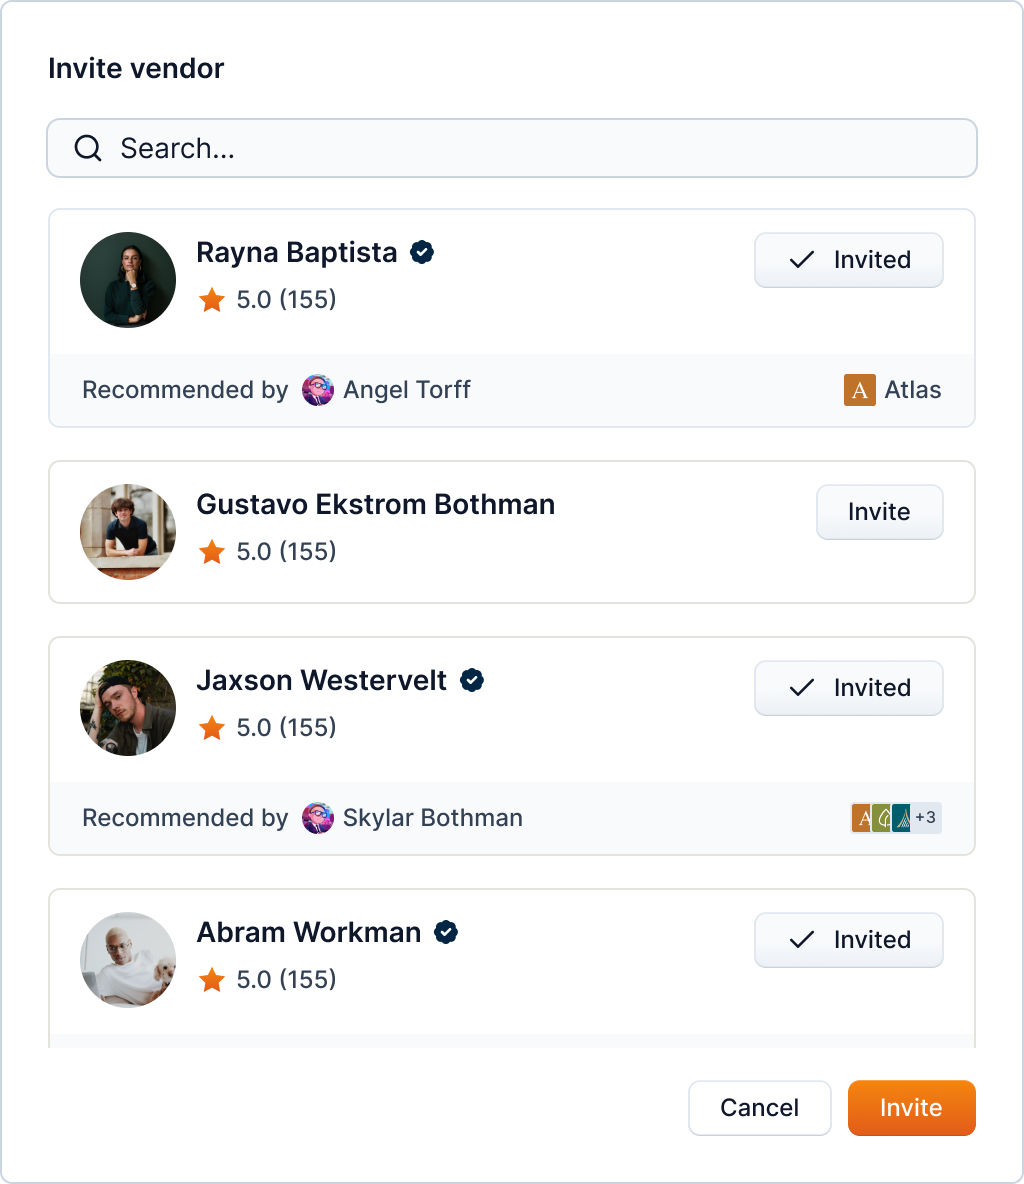
As an optional step, you can also invite vendors to bid on the job.
Once you complete this step, the job cell changes to "Job posted" status.
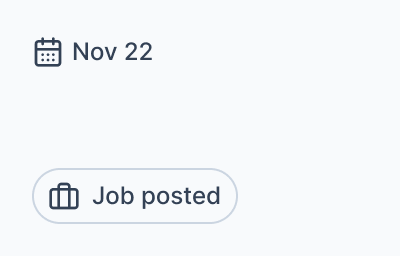
By clicking on the cell, you can view the job details.